10 Common Portable Air Compressor Faults and How to Fix Them
You use a portable air compressor for many jobs at work and home. Sometimes, things go wrong like liquid coming back, losing oil, dirty parts, or getting too hot. These are 10 common problems you may see:
No start
Low pressure
Air leaks
Overheating
Too much noise
Oil or water in lines
Pressure switch issues
Motor problems
Belt failure
Filter blockage
If you fix problems fast, you can keep working. This helps your equipment stay safe and run well.
Table of Contents
Key Takeaways
Taking care of your portable air compressor stops problems like getting too hot or having weak pressure. Look at oil levels, clean filters, and check hoses often.
Fixing things like air leaks or motor problems fast can help you save time and money. Try to solve easy problems first before asking an expert for help.
Knowing signs of trouble, like strange sounds or weak pressure, helps you find problems early. This makes your compressor work well and last longer.
No Start
Symptoms
You press the start button, but nothing happens. The compressor stays silent. Sometimes, you hear a humming sound, but the motor does not run. The lights on the control panel may not turn on. You may notice the air pressure gauge does not move.
Causes
Many things can stop your portable air compressor from starting.
Electrical problems, like broken wires or a tripped circuit breaker, block power.
Mechanical issues, such as a broken coupling between the motor and compressor, prevent movement.
The system pressure may be too high, stopping the compressor from activating.
Faulty starter or damaged capacitors can also cause trouble.
Sometimes, the check valve or intake filter gets blocked.
Tip: Always check for simple issues first, like loose plugs or blown fuses.
Solutions
Follow these steps to find and fix the problem:
Check the power cord and make sure it is plugged in. Turn on the power switch. Look at the circuit breakers and replace any blown fuses.
Set the cut-in pressure correctly so the compressor knows when to start.
Inspect the tank check valve and intake filters. Clean or replace them if they are blocked.
Test the starter and capacitors with a multimeter. Replace any faulty parts.
Listen for a humming sound. If you hear it, the motor may have a mechanical or electrical problem. You may need a professional to repair or replace the motor.
If you cannot find the problem, call a technician. This keeps you safe and protects your equipment.
A portable air compressor needs regular checks to avoid no-start issues. Quick action helps you get back to work fast.
Low Pressure
Signs
You notice your tools work slower than usual. The air coming from the hose feels weak. The pressure gauge shows a number lower than normal. Sometimes, the compressor runs longer but does not reach the set pressure. You may hear air escaping from somewhere in the system.
Here is a quick look at typical discharge pressure ranges for different compressors:
Type of Compressor | Discharge Pressure Range |
|---|---|
Less than 150 psi | |
Medium-pressure air compressors | 150 psi to 1000 psi |
High-pressure air compressors | Greater than 1000 psi |
Most portable air compressors fall into the low-pressure category.
Reasons
Low pressure happens for several reasons.
Air leaks often cause pressure drops. These leaks can appear in pipes, hoses, fittings, or valves.
Friction loss in pipes and hoses makes it harder for air to move, lowering pressure.
Clogged filters block airflow and force the compressor to work harder.
Worn-out seals or damaged regulators also lead to low pressure.
Tip: Regular inspection helps you catch these problems early.
Fix Steps
Check all hoses, pipes, and connections for leaks. Tighten or replace any faulty parts.
Inspect the air filter. Clean or change it if you see dirt or blockage.
Look at the pressure regulator. Adjust it to the correct setting.
Examine the seals and valves. Replace any that look worn or damaged.
Test the compressor with your tools. Make sure the pressure matches the job’s needs.
A portable air compressor works best when you keep every part clean and tight. Quick fixes help you avoid bigger problems later.
Air Leaks
Detection
You can spot air leaks in several ways. Listen for hissing sounds when your workspace is quiet. Sometimes, you can feel a small breeze near a hose or fitting. Try using soapy water on joints and connections. Bubbles will form if air escapes. This method works well but takes time. Be careful around wires and electrical parts. Some people use ultrasonic detectors. These tools pick up high-frequency sounds from escaping air. They help you find even tiny leaks, even when the area is noisy.
Leak Points
Leaks often happen at certain spots. Check hose connections and fittings first. Valves and couplers can also let air out. Inspect the pressure regulator and tank drain. Sometimes, cracks in hoses or worn-out seals cause problems. Look at the compressor tank and listen for leaks near welds or seams. Even a small hole can waste a lot of air over time.
Repair Tips
Fixing leaks keeps your portable air compressor working well. Tighten loose fittings with a wrench. Replace damaged hoses or cracked seals. Use Teflon tape on threaded joints to stop leaks. If you find a faulty valve or coupler, swap it out for a new one. After repairs, test the system again with soapy water or an ultrasonic detector. Regular checks help you catch leaks early and save energy.
Overheating
Warning Signs
Your portable air compressor can get hot very fast. The metal parts may feel hot when you touch them. Sometimes, the machine turns off by itself. You might see warning lights on the control panel. The compressor can sound louder than normal. You may smell burning oil or rubber. These signs mean your compressor needs help.
Common Causes
Many things can make your compressor too hot. You might forget to clean the cooling fins or vents. Old compressors have parts that do not work well. Poor airflow in your workspace keeps heat inside. If the room is hot, the compressor works harder. Not doing regular maintenance can block filters and make oil dirty. Here is a table that lists the main causes:
Cause of Overheating | Description |
|---|---|
Environmental factors | Poor outside airflow and high room temperature. |
Cooling system failure | Blocked heat exchangers and not enough cooling. |
Lubrication system faults | Oil problems and blocked oil flow. |
Mechanical system abnormalities | Broken power parts. |
Improper load management | Too much work makes extra heat. |
You should also look out for these problems:
Not enough maintenance
Old compressor
Bad airflow
Hot room
Cooling Solutions
You can stop overheating by doing a few things. Clean the cooling fins and vents often. Put the compressor in a cool, open spot. Change old oil for new oil. Check the fan and cooling system for clogs. Do not use the compressor for a long time without breaks. If it still gets too hot, call a technician to check it. Taking care of your compressor helps it stay cool and safe.
Excessive Noise
Types
Your portable air compressor can make many kinds of noise. Some noises are loud bangs or knocks. You might hear high squeals or a steady hum. Sometimes, you notice rattling or shaking sounds. Each noise can mean something is wrong inside.
Banging or knocking often means some parts are loose or bearings are worn out.
Squealing may happen if the belt slips or the motor is dry.
Humming can show there are electrical problems or motor trouble.
Rattling usually means bolts or panels are not tight.
Sources
Noise can come from different places in your compressor. The main part making noise is the compressor itself. Moving parts inside shake and make gas move fast. These things make the machine sound loud.
The compressor is one of the main sources of noise in commercial use because it makes noise directly and also shakes the system from gas moving and vibration.
Many portable compressors use screw compressors, which are very noisy when running. You need to find where the noise comes from to fix it. Common places are:
Motor and bearings
Belts and pulleys
Air intake and exhaust
Loose panels or fasteners
Noise Fixes
You can make your compressor quieter by doing a few things. First, tighten all bolts and panels. Change any belts that are loose or worn out. Put oil on moving parts like bearings and motor shafts. Clean the air filters so nothing blocks them. Put your compressor on a rubber mat to stop shaking. If it is still loud, look for broken parts inside. Sometimes, you need a professional to fix or change noisy parts.
Tip: Doing regular checks helps your compressor stay quiet and safe.
Oil or Water in Lines
Symptoms
You may notice strange liquids coming out of your air tools. Sometimes, you see drops of oil or water at the end of the hose. Your tools might sputter or spray when you use them. The air smells odd or feels damp. You find puddles near the compressor or inside the lines. Your equipment may not work as well as before. Sticky residue can build up on fittings and connectors. Rust spots may appear on metal parts.
Tip: If you spot water or oil in your air lines, act quickly to prevent damage to your tools.
Causes
Oil or water in your air lines comes from a few main sources. Water often enters the system because compressed air cools down as it moves through the lines. When warm air cools, the water vapor inside turns into liquid. This process is called condensation. If you use your compressor in a humid area, you will see more water in the lines. Oil can get into the air lines if the compressor has too much lubricant or if the oil separator is clogged. Damaged seals or worn-out parts also let oil escape into the airflow.
Cause | Description |
|---|---|
Condensation | Moisture in air turns to water as air cools |
Excess Lubricant | Too much oil leaks into the air lines |
Clogged Separator | Oil separator fails to filter oil properly |
Worn Seals/Parts | Old parts let oil escape |
Cleaning Steps
You can clean oil or water from your air lines by following simple steps. First, turn off the compressor and release all pressure. Remove the hose and drain any liquid from the tank using the drain valve. Wipe down the hose and connectors with a clean cloth. Replace the air filter if it looks dirty or wet. Check the oil separator and clean or change it if needed. Inspect seals and fittings for damage. Put everything back together and run the compressor for a short time to check for leaks. Regular cleaning keeps your compressor working well and protects your tools.
Note: Clean your air lines often to avoid rust, sticky residue, and tool damage.
Pressure Switch Issues
Identification
You rely on the pressure switch to control when your compressor turns on and off. If you notice your compressor does not start, stops too soon, or cycles on and off quickly, the pressure switch may have a problem. You can spot trouble by watching the compressor’s behavior and listening for unusual sounds. Sometimes, you see the compressor shut off before reaching full pressure. Loose or corroded wires near the switch can also cause problems. Regular checks help you catch these issues early.
Issue | Description |
|---|---|
The pressure switch may not signal the motor to turn on due to stuck contacts or damage. | |
Constant Cycling | Rapid on/off cycling indicates a faulty switch or system leak; check switch adjustments. |
Won’t Reach Full Pressure | The switch may shut off too early due to misadjusted settings or mechanical failures. |
Inspect Electrical Connections | Loose or corroded connections can cause operational issues; regular checks are recommended. |
Faults
Pressure switch faults can stop your compressor from working right. Stuck contacts inside the switch may block power to the motor. If the switch cycles on and off too fast, you might have a leak or a worn-out switch. Sometimes, the compressor shuts off before reaching the right pressure. This often means the switch settings are wrong or the switch has worn parts. Loose wires or rust on the terminals can also cause the switch to fail. You should check the switch and its wires if your compressor acts up.
Tip: Always turn off the power before you touch any electrical parts.
Adjustment
You can fix many pressure switch problems with a few simple steps. Follow this order to stay safe and get the job done right:
Pull the ring on the safety valve to release air from the tank.
Remove the cover to reach the pressure switch.
Find the switch and loosen the nuts holding it.
Take a picture or write down how the wires connect.
Gently remove the old switch.
Attach the new switch, matching the wires to your notes or photo.
Tighten the nuts and replace the cover.
Plug in the compressor and test the new switch.
If you adjust or replace the pressure switch, you help your compressor run safely and smoothly. Regular checks and careful adjustments keep your equipment in top shape.
Motor Problems
Signs
Your compressor might not start or it may stop fast. Sometimes, you hear a hum but the motor does not spin. The compressor could run for a bit and then turn off. You might see the reset button pop out. The motor can get hot very quickly. You may smell something burning or see smoke near the motor. These things mean the motor needs to be checked.
Causes
There are many reasons for motor problems. Look at the table below to see the most common ones:
Motor Problem | Description |
|---|---|
Failed Capacitors | Start or run capacitors in the motor can fail, preventing it from generating the torque needed to start. |
Damaged Motor Windings | Worn or damaged windings can disrupt the motor’s electrical field, reducing its ability to start or run efficiently. |
Overload Protection Activation | Overheating or overcurrent situations can trip the compressor’s overload protection, shutting it down. |
Check Valve Failure | A faulty tank check valve may allow backflow into the compressor, creating resistance that prevents it from starting. |
Blocked Intake Filters | Obstructions in the intake restrict airflow, making it difficult for the compressor to start. |
Air End Bearings Failure | Seized or worn bearings can create mechanical resistance, preventing the motor from turning the compressor. |
Tip: Always unplug your compressor before you look at the motor.
Repair Steps
You can fix many motor problems by following these steps:
Look for damage or worn spots on the motor.
Use a multimeter to check the motor’s amperage. Compare it to what the maker says is normal.
If the motor uses too much power, replace it.
Check for loose wires or old parts on the capacitor. Replace them if needed.
Plug the compressor straight into the wall. Do not use extension cords so you do not blow fuses.
Change out old motors that break a lot.
Make sure no other devices are using too much power on the same circuit.
If you see blown fuses or the motor gets too hot, fix it right away. Checking your compressor often helps it work safely.
Belt Failure
Detection
You can spot belt failure in your portable air compressor by looking and listening. A worn belt often makes a squealing or slapping sound. You may see cracks, fraying, or missing pieces on the belt. Sometimes, the compressor stops working or the motor runs but the air pressure does not build up. You might notice the belt slipping off the pulleys or moving loosely. If you smell burning rubber, check the belt right away.
Tip: Always turn off and unplug your compressor before you inspect the belt.
Causes
Many things can cause belt failure. You may run your compressor for long hours without checking the belt. Dirt and dust can build up and wear down the belt faster. Poor alignment of pulleys makes the belt rub and stretch. If you do not keep the right tension, the belt can slip or snap. Sometimes, belts wear out because of age or low-quality materials.
Modern belts last longer than older types.
Carbon fiber-reinforced belts and automatic tensioning systems help belts last over 20,000 hours.
Regular cleaning and proper alignment prevent early failure.
Replacement
You can replace a failed belt with a few simple steps. First, unplug the compressor and release all air pressure. Remove the belt guard to reach the belt. Loosen the motor mounting bolts so you can slide the motor and take off the old belt. Check the pulleys for dirt or damage. Put on the new belt and adjust the motor to get the right tension. Tighten the bolts and replace the guard. Test the compressor to make sure the belt runs smoothly.
Note: Choose high-quality belts for longer life and fewer breakdowns. Regular checks keep your compressor working safely.

Filter Blockage
Symptoms
Your portable air compressor may not work as well as before. The airflow feels weak and your tools lose power. Sometimes, the compressor runs longer but cannot reach the right pressure. You might hear the motor working harder than normal. The pressure gauge can show lower pressure than usual. If you see dust or dirt near the filter, this could mean a blockage. Some compressors have lights or signs that tell you when the filter needs help.
Description | |
|---|---|
Pressure Drop Monitoring | Shows filter blockage by measuring pressure drop across the filter. |
Differential Pressure Gauges | Lets you track pressure changes, often mounted on the filter housing. |
Visual Inspection | Involves checking the filter directly or using built-in indicators. |
Tip: If your compressor feels weak or the motor sounds strained, check the filter first.
Causes
Many things can block the filters in your portable air compressor. Here are some common reasons:
Oil filter element: Bad oil filter quality, dirty air, and carbon buildup can block the filter.
Air filter element: Dusty places, like cement or textile factories, clog the air filter fast.
Oil separator: Dirt, gases, and high heat block the filter holes and make it harder for air to pass.
You should check filters more often if you use your compressor in a dusty or dirty place.
Cleaning
To clean a blocked filter, turn off the compressor and let it cool down. Take off the filter cover and pull out the filter. Tap the filter gently to shake out dust and dirt. Use compressed air to blow out small bits, but always blow from the inside out. If the filter looks broken or very dirty, put in a new one. Wipe the filter area before putting the filter back. Cleaning your filter often helps your compressor work better and stops bigger problems.
Note: Clean or change filters every few weeks, especially if you work in dirty places. This easy step keeps your compressor and tools safe.
Portable Air Compressor Maintenance
Routine Checks
You need to check your portable air compressor often. Each day, look at the oil and fluid levels. Fill up the fuel tank if it is low. Drain water from the separator so it does not build up. Clean dust collectors to keep air moving well. Check the coolers for dirt or blockages. Every week, look at the belts for cracks or wear. Blow out the coolers to remove dust. Tighten bolts and fittings if they are loose. Once a month, clean or change the air filters. Check if the oil looks dirty or old. Look at the hoses for leaks or damage.
Here is a checklist you can use:
Component | What to Check or Do |
|---|---|
Oil & Fluids | Check and add more if needed |
Fuel | Fill the tank and drain water |
Filters | Clean or change them often |
Belts | Look for wear and make sure they are tight |
Coolers | Clean and check for blockages |
Hoses | Check for leaks or cracks |
Bolts & Fittings | Tighten if they are loose |
Tip: Do your first big check after 50 hours of use. After that, check the radiators and coolers every 100 hours.
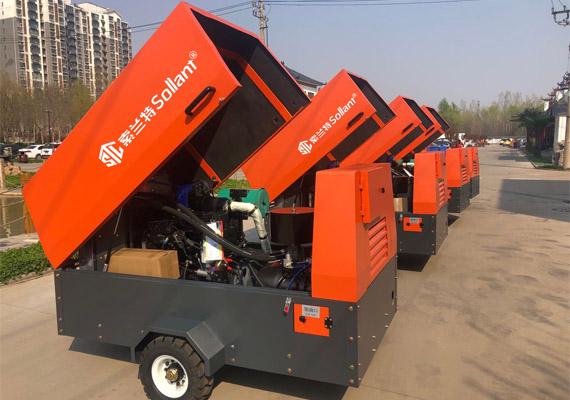
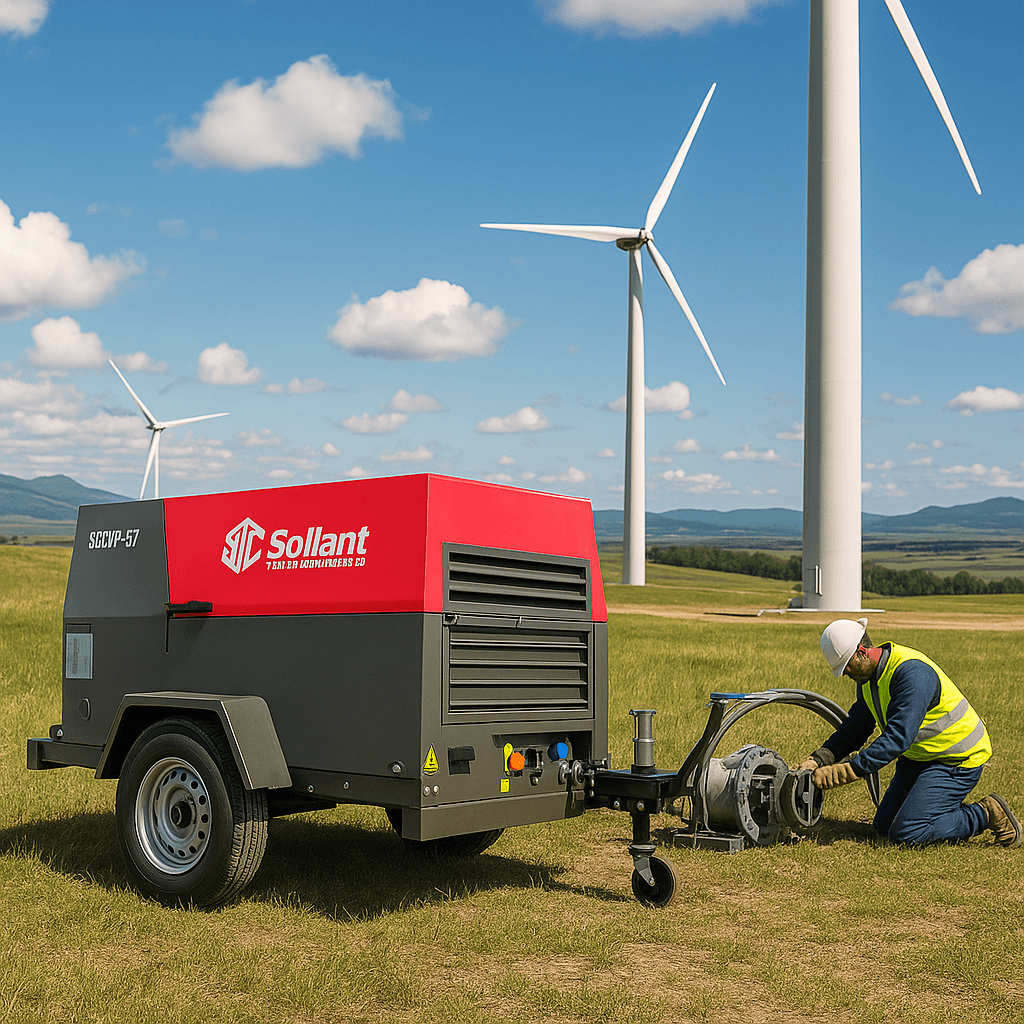
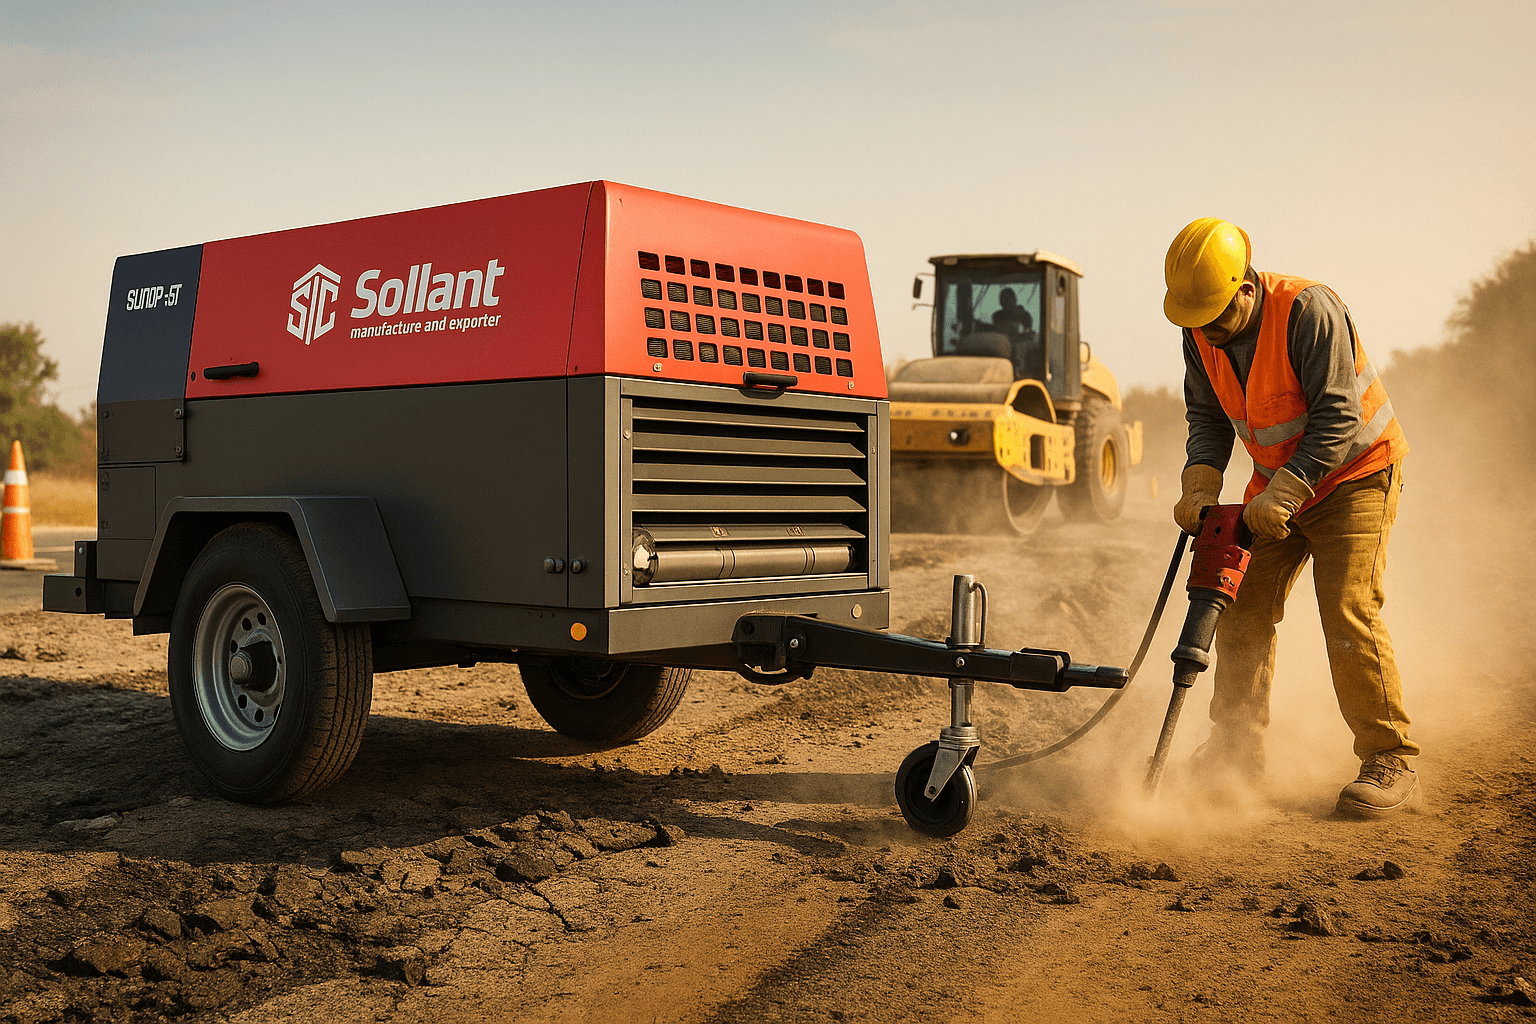
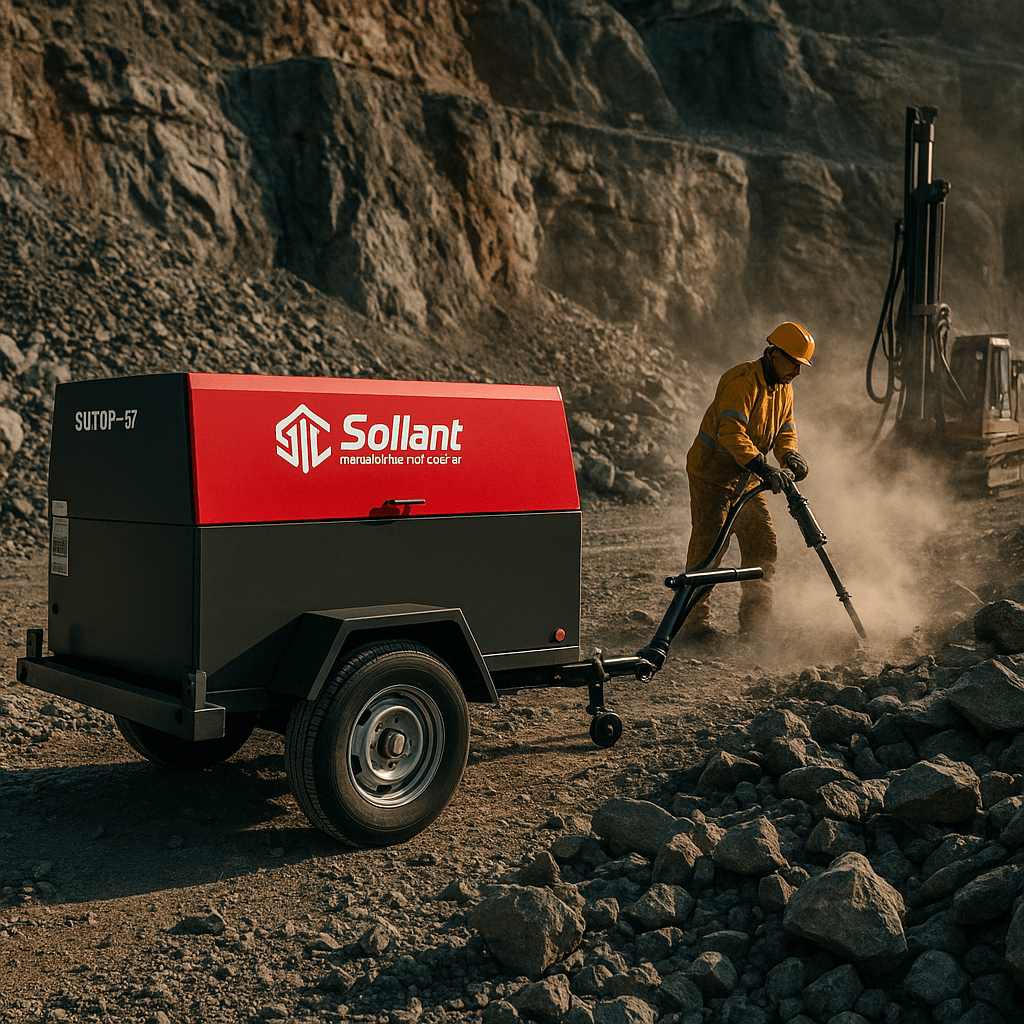
Sollant Solutions
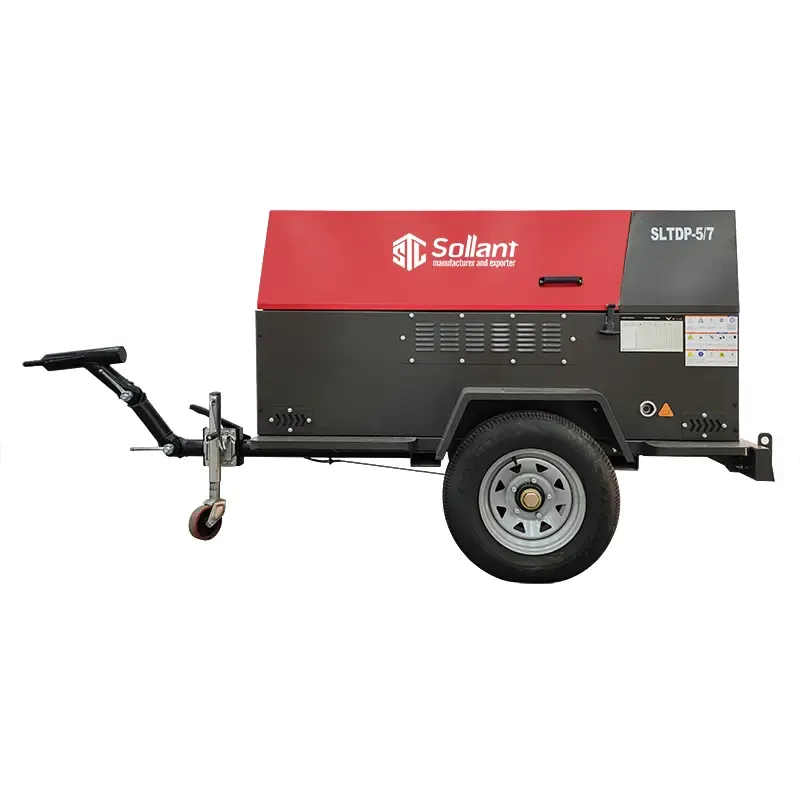
You want your portable air compressor to work for a long time. Using good parts and accessories helps a lot. Sollant makes compressors with strong and well-made parts. These parts are safe and work well. Heavy-duty cylinders and special filters help your compressor do hard jobs. They also protect it in tough places.
Sollant’s diesel and towable air compressors use engines like Cummins and Yuchai. They have smart controls for air volume. You can move them easily, even on bumpy ground. The filters work well in dusty areas. The system checks pressure and performance for you.
Contact Support
If you need help, Sollant has experts ready to answer questions. They can help with vibration, draining water, oil mist, and overload problems. Sollant can help you fix starting problems. They explain how oil affects how your compressor works. You can ask for tips on picking products or doing maintenance. Sollant’s team will help you keep your portable air compressor running well.
Taking care of your portable air compressor helps it last longer. Fixing problems fast saves you money. Look at the table to see why regular checks are good:
Benefit | Description |
|---|---|
You spend less time fixing and pay less for repairs. | |
Better Efficiency | Your compressor uses less energy and works better. |
Longer Lifespan | Your equipment will work for more years. |
Sollant gives you strong products and expert help. If you need support, you can call, email, or visit Sollant’s website.
FAQ
What should you do if your compressor keeps shutting off?
Check for overheating, blocked filters, or high pressure. Let the compressor cool down. Clean filters and check oil. Contact Sollant support if the problem continues.
How often should you change the air filter?
You should check the air filter every month. Replace it if it looks dirty or damaged. Clean filters help your compressor work better and last longer.
Can you use a portable air compressor in cold weather?
Yes, you can use it in cold weather. Store the compressor indoors when not in use. Let it warm up before starting. Use the right oil for low temperatures.
Request a Quick Quote Now
How to do my business well ?
- Market situation
- Technology configuration
- Strike Price
- exclusive agency
- Import and export assistance
- More…

